
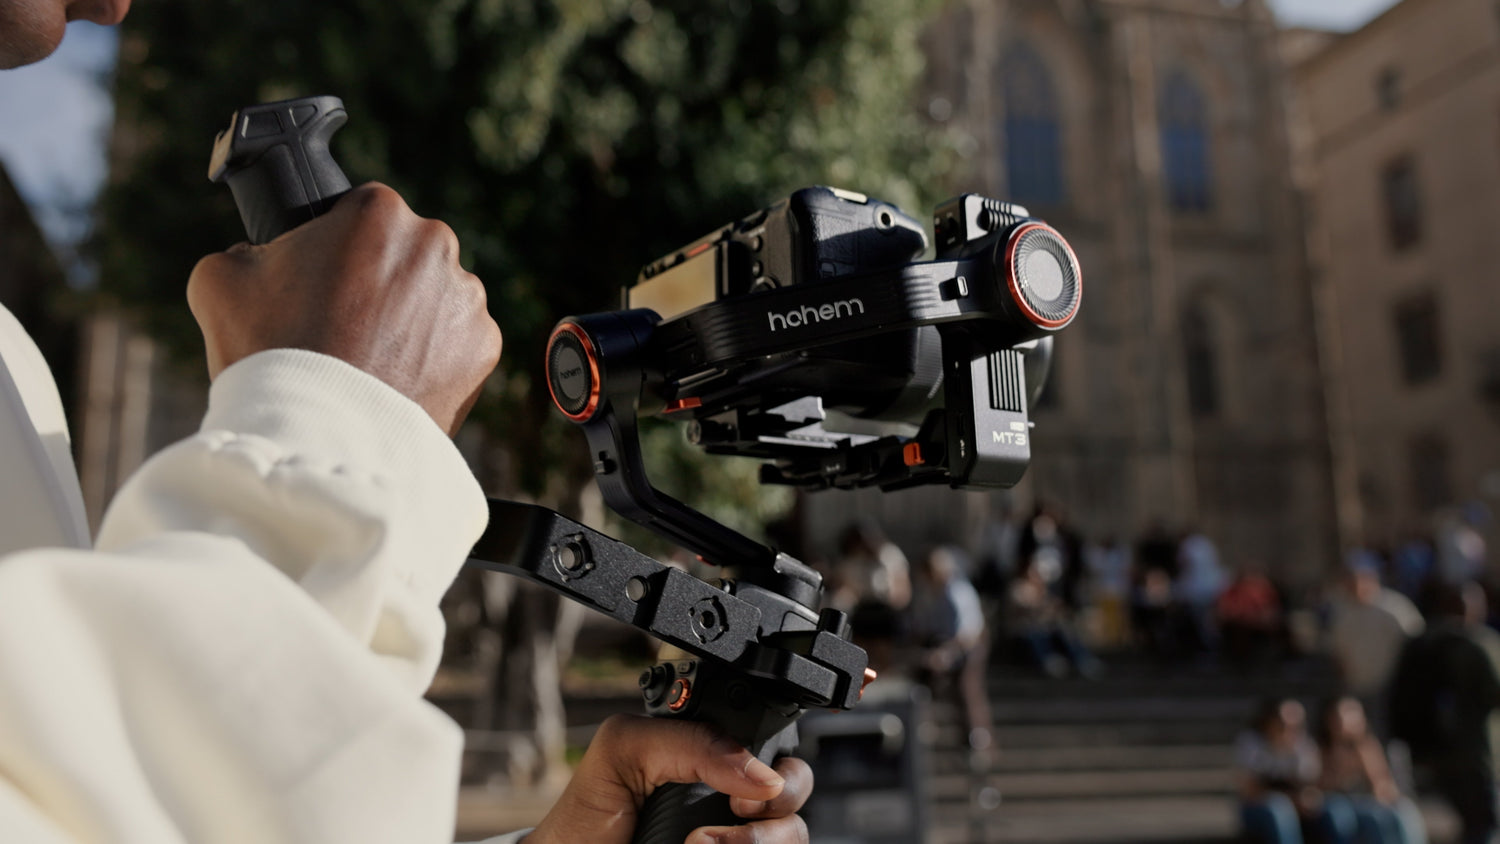
A DSLR stabilizer is only as good as the person using it. Most guides focus on which one to buy, but that’s only half the story. Once you actually have it, what matters more is how you set it up, how you balance it for your specific camera and lens, and how you use it to get footage that looks intentional and cinematic—not just less shaky.
This guide is for creators using the Hohem iSteady MT3 Pro, especially those working with mirrorless or DSLR cameras. It’s a practical, hands-on workflow built from real shooting experience, not just a breakdown of specs.
Why a DSLR Stabilizer Behaves Differently to a Phone Gimbal
If your only experience with gimbals so far is with a smartphone, a DSLR stabilizer can feel like a completely different tool at first. It’s not just a larger version of the same thing—it behaves differently in ways that become obvious as soon as you start balancing and shooting.
The biggest reason comes down to weight and how that weight interacts with the motors.
A typical phone gimbal is designed for something in the range of 250–400 g, even with a phone attached. A setup like the iSteady MT3 Pro, on the other hand, can handle up to around 1.5 kg. That extra load changes everything: the motors are under more strain, and even small setup mistakes become more noticeable in the final footage.
Another major difference is how much your lens affects the setup.
With a phone, your “camera setup” is fixed. With a DSLR or mirrorless system, your lens choice can completely change the balance point. For example:
- A compact 35mm or 50mm prime keeps the weight close to the mount and is relatively easy to balance
- A 70–200mm zoom shifts a lot of weight forward, creating a much more front-heavy setup
- Even swapping lenses on the same camera can require a full rebalance
So instead of setting up once and forgetting it (like you often do with phones), camera gimbals require a bit more attention every time your setup changes.
There’s also a mechanical reason behind this: leverage.
The further the weight sits from the mounting point, the harder the motors have to work to keep everything stable. A longer lens effectively creates a lever that amplifies small movements, which is why:
- Wide and mid-range lenses are the easiest to stabilize
- Heavier telephoto lenses push the motors closer to their limits
- Small balance errors become much more noticeable in motion
This is also why most gimbal work naturally leans toward wider focal lengths. They’re simply easier to control, more forgiving in movement, and better suited to the stabilizer’s design.
For full camera stabilizer specs and model comparisons, see the camera stabilizers collection.
Before You Mount Anything: Camera Prep
Set the Right Shutter Speed (180-Degree Rule)
The 180-degree rule states that your shutter speed should be approximately double your frame rate. Shooting at 24fps: set your shutter to 1/50s. At 30fps: 1/60s. At 60fps: 1/125s. This produces the natural motion blur that makes video look like video rather than a sequence of hyper-sharp, strobing stills.
With a gimbal providing stabilization, the temptation is to shoot at faster shutter speeds for a "sharper" look. Resist it. The motion blur produced by the correct shutter speed is part of what makes gimbal footage look cinematic.
Lock In Stabilisation Settings
In-body image stabilisation (IBIS) and optical image stabilisation (OIS) can conflict with a gimbal's stabilization algorithms when both are active. Most camera manufacturers now include a "tripod mode" or "video gimbal mode" for IBIS that detects when the camera is mounted and reduces compensation strength.
If your camera offers this, use it. If it doesn't, test with IBIS on and off: in many cases, slight IBIS on a correctly balanced gimbal produces marginally better results than both systems fighting for control. OIS in the lens typically stays on.
Lens Choice for Gimbal Work
Wide to mid focal lengths: 16mm to 50mm equivalent: are the workhorses of gimbal cinematography. They're compact (better balance), have a shorter moment arm (lower motor load), and their wider field of view makes subtle stabilization artifacts less visible than they would be on a compressed telephoto. A 24mm or 35mm prime is often the ideal pairing for handheld cinematic work.
Plan the Weight Before You Mount
Battery in the camera. ND filter on the lens. Microphone in the cold shoe. Every accessory changes the balance. Set up the camera exactly as it will be during the shoot: with all accessories attached: before beginning the balancing process. Adding a microphone after balancing forces a complete re-balance.
How to Balance a DSLR Stabilizer (Full Walkthrough)
Balancing a camera gimbal is not optional. An unbalanced setup forces the motors to run at elevated load permanently just to hold position, producing jitter, heat, and premature motor wear. Set aside 5–10 minutes before each new camera and lens combination.
Tilt Axis
Power off the gimbal. Position the tilt axis arm horizontally so the camera faces forward. Release it. If the camera dips forward, slide the camera forward on the mounting plate. If it dips back, slide the camera back. The axis is balanced when the camera holds horizontal without drifting in either direction.
Roll Axis
Once the tilt axis is balanced, rotate the entire assembly so the lens points straight down. Release the roll axis. If the camera rotates clockwise, shift the mounting plate slightly to the left. Counterclockwise: shift right. When the camera holds the downward position without rotating, the roll axis is balanced.
Pan Axis
Hold the gimbal upright and let it hang freely. The pan axis should settle pointing straight ahead. If it consistently rotates to one side, the lateral weight distribution is off: check that accessories (microphone, monitor) are centred or that the mounting plate isn't off-centre.
Vertical Mode Rebalancing
If you're shooting in vertical orientation (portrait) for social content, the camera's mounting position shifts significantly from the horizontal balance point. Re-run the tilt and roll balance checks in vertical mode before shooting.
The Sanity Check: Release and Hold Test
Power on the gimbal. Hold it in each of the three axis check positions (horizontal, downward, upright) and release. The camera should hold position without the motors audibly straining or the camera drifting. If you hear motor whine or see drift, return to that axis's balance adjustment. A correctly balanced camera gimbal is nearly silent at rest.
Watch the official MT3 walkthrough to see each balancing step in action:
The 6 Camera Movements Every Filmmaker Should Practice
Walking Shot (Heel-to-Toe Technique)
This is the starting point for almost every gimbal movement. The idea is simple: instead of walking normally and letting your steps create bounce, you roll your foot from heel to toe so the motion stays smooth before it even reaches the stabilizer. Once this becomes second nature, every other shot instantly improves.
Best used for:
- Following a subject through a space while keeping movement smooth and natural
- Moving through environments like streets, interiors, or event spaces
- Establishing a sense of immersion without distracting camera shake
Pan
A pan is all about controlled upper-body movement. With your feet planted, you rotate your torso left or right while the gimbal keeps the horizon steady. The key here is restraint—slow movement feels intentional, while fast movement can feel rushed unless you’re deliberately going for a whip effect.
Best used for:
- Revealing a wider scene from a fixed position
- Following action happening across a horizontal space
- Establishing environmental context without moving the camera position
Tilt
Tilting shifts the frame vertically while you stay in place. Whether you’re moving from ground level up to a subject or starting high and dropping down into the scene, the goal is the same: keep the motion steady and continuous rather than abrupt.
Best used for:
- Revealing tall subjects like buildings, trees, or people
- Adding drama to entrances or scene reveals
- Transitioning from detail shots to wider environmental context
Tracking Shot
Tracking involves moving alongside or toward your subject while keeping them framed consistently. Your job is to match their pace as closely as possible, while the gimbal handles the small corrections that keep everything stable and readable.
Best used for:
- Walking alongside a subject in motion (vlogs, interviews, lifestyle shots)
- Moving toward a subject for a more immersive, cinematic feel
- Following action where the subject remains the focus of the frame
Reveal
A reveal shot uses foreground elements to gradually introduce what’s happening in the scene. You start partially hidden—behind a wall, doorway, or object—then move into position so the subject slowly comes into view. The effect works because it feels intentional, almost like the camera is discovering the scene.
Best used for:
- Introducing a subject in a more cinematic, story-driven way
- Transitioning between spaces or locations
- Adding depth and visual interest to otherwise simple scenes
Orbit / Arc
An orbit shot keeps a fixed distance from your subject while you move in a smooth circular path around them. It takes a bit of practice to keep your spacing consistent, but when done well, it creates one of the most dynamic movements you can achieve with a gimbal.
Best used for:
- Highlighting a subject from multiple angles in a single take
- Creating dramatic, cinematic hero shots
- Showcasing products, people, or environments in a more stylised way

Working With AI Tracking on a Camera Gimbal
The Hohem MT3 Pro's built-in AI tracker changes what's possible for solo camera operators. Instead of requiring a second person to handle the gimbal while you perform or present, the AI tracking module identifies and follows a designated subject automatically.
For setup: attach the AI tracking module to the designated mount point, open the Hohem app, and tap the subject on the preview screen to begin tracking. The gimbal's motors follow the subject's movement within the frame.
The AI tracker responds best when there is clear contrast between the subject and background, consistent lighting, and the subject remains at a relatively stable distance from the camera. In crowded environments or strong backlight conditions, the tracker may lose the subject. Use the gesture control feature (usually a raised palm or specific hand gesture) to re-acquire tracking when this happens.
For situations requiring precise framing: interviews, product demos, presentations: manual joystick control gives you more predictable results than AI tracking. Use AI tracking for dynamic content where the subject is moving unpredictably.
A 10-Shot B-Roll Checklist for Any Project
Use this checklist to build a versatile B-roll set for any location or subject:
- Wide establishing shot: scene or location context
- Medium shot walking toward camera: subject arrives
- Over-shoulder tracking shot: subject in motion
- Close-up of hands or relevant detail: product, tool, action
- Low-angle upward tilt: environmental or architectural scale
- Reveal shot: subject or location from behind foreground element
- Pan across the environment: left to right orientation shot
- Orbit / arc around key subject
- Static locked shot with subject movement: AI tracking optional
- Wide exit shot: subject leaves frame
Troubleshooting Common DSLR Stabilizer Problems
Motor Judder / Vibration
If the gimbal produces a visible vibration in the footage, the most common cause is an imbalance on one of the three axes. Power off, re-run the full balance process, and test again. If judder persists after rebalancing, check whether the mounting plate is fully secured and that the quick-release lock is fully engaged.
Drifting Horizon
A horizon that gradually tilts during a shot usually indicates a roll axis balance issue or a gyroscope that needs recalibrating. Re-balance the roll axis first. If the drift continues, run the gimbal's motor calibration sequence from the Hohem app on a flat, stable surface.
Battery Drain Too Fast
Camera gimbals draw more power when fighting an imbalanced payload. If your battery is draining significantly faster than the stated runtime, imbalance is the most likely cause. Re-balance the camera and lens combination and test again with a full battery charge.
Tracker Losing Subject in Low Light
AI tracking algorithms depend on visual contrast. In low light, that contrast disappears. For night shoots or interior low-light work, use manual joystick control rather than AI tracking, and reserve tracking mode for daylight or well-lit interior environments.
FAQ
Do I need a DSLR stabilizer if my camera has IBIS?
IBIS significantly reduces handshake in still photography and short video clips. Over longer takes, walking sequences, and any shot with more than minor operator movement, IBIS reaches its correction limits. A gimbal stabilizer handles the larger-scale movement that IBIS cannot. For professional-quality video, both working together is the standard.
How heavy a camera can the MT3 Pro support?
The iSteady MT3 Pro camera gimbal stabilizer supports payloads up to 2.5 kg. That covers most full-frame mirrorless bodies paired with a compact to mid-range lens. Very large telephoto zooms may push or exceed this limit: check the combined weight of your body and lens before purchasing.
Can a DSLR stabilizer work with a mirrorless camera?
Yes. The term "DSLR stabilizer" is largely inherited from an era when DSLRs dominated the market. Modern camera gimbals like the MT3 Pro are designed for both DSLR and mirrorless bodies. The key specification is payload rating, not camera type.
Should I leave IBIS on while using a gimbal?
Test with your specific camera and gimbal combination. Many current mirrorless cameras detect tripod or gimbal mounting and automatically reduce IBIS strength to avoid interference. If your camera doesn't have this, test IBIS on vs off and compare the footage. IBIS-off often produces cleaner results on a well-balanced gimbal; IBIS-on can produce wavy micro-jitter as the two stabilization systems conflict.
How long does balancing actually take once you get good at it?
For a familiar camera and lens combination, a full balance check takes 3–5 minutes. For a new combination or after changing lenses, allow 8–10 minutes. The time investment drops significantly with practice, and many experienced gimbal operators can balance a familiar setup in under two minutes.
Is my camera compatible with the Hohem MT3 Pro?
Check the full Hohem MT3 camera compatibility list to confirm your camera and lens combination before shooting.
Ready to Shoot?
The difference between footage that looks cinematic and footage that just looks stabilized comes down to operator technique: and technique starts with a correctly set-up gimbal. Work through the balancing process for your specific camera and lens combination, apply the shot techniques above, and the MT3 Pro delivers results that far exceed what a handheld IBIS-only setup can produce. Browse the camera stabilizers collection, or go directly to the iSteady MT3 Pro camera gimbal stabilizer. Already in buyer mode? See our best DSLR gimbal stabilizers comparison, or the best mirrorless camera gimbal guide for a full spec breakdown.
Leave A Comment
All comments are moderated before being published.
Ezt a webhelyet a hCaptcha rendszer védi, és a hCaptcha adatvédelmi szabályzata, valamint szolgáltatási feltételei vonatkoznak rá.