
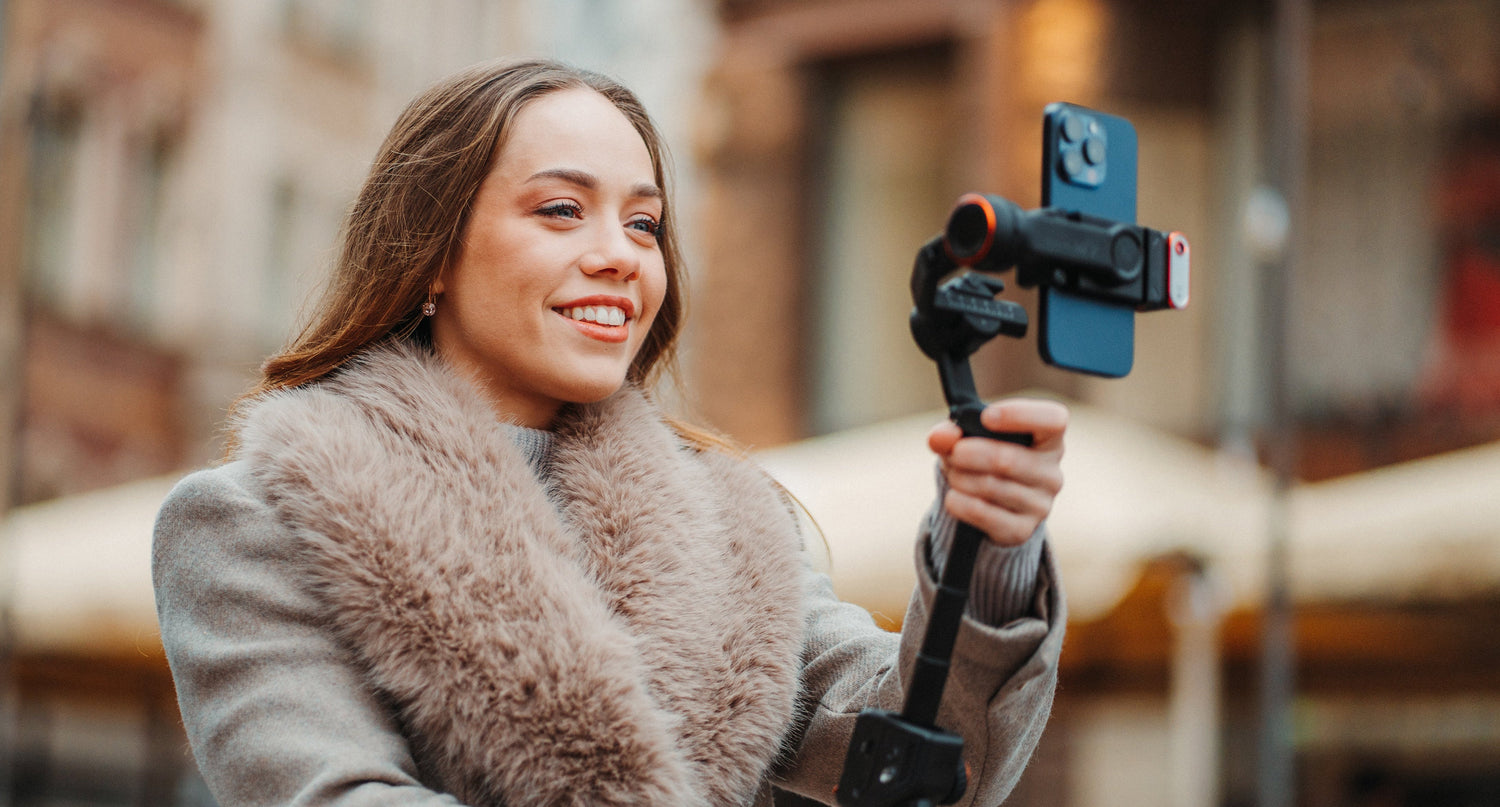
Over the past two years, Apple has slowly and surely transformed the iPhone into a real production device. The best example of this is the MAMI Select: Filmed on iPhone program, which now lets emerging filmmakers produce a festival-ready short film with all of the iPhone 17 Pro Max equipment. At NAB 2026, Apple's commissioned short, “Morgawr,” did the same thing on an even larger stage, and accessory manufacturers such as SmallRig were sprinting across the floor with a comprehensive cage lineup designed to fit the iPhone 17 Pro. This isn't marketing. It's a true transformation of the role of a phone camera.
The iPhone 17 Pro is to blame for that. Now, three rear cameras–the main lens, ultra-wide, and 4x telephoto–are capable of capturing images at 48MP. The camera software is updated to record in Apple's new ProRes RAW format and introduces a new Apple Log 2 color profile. Also, for the first time on any iPhone, manual focus pulling is available in the camera with Cinematic Mode 2.0. Taken together, these all make for a whole that equates to real cinema camera controls in your pocket.
Now with USB-C 4.0 support for external SSD recording, the only remaining hurdle is the challenge of fitting it into a small space. ProRes RAW files are quite large at several gigabytes per minute; therefore, writing them to a portable drive rather than internal storage allows you to shoot for hours with no fear of running out of storage.
Here is what most new iPhone 17 Pro owners miss. The camera system is not the bottleneck anymore. The thing holding back most iPhone footage is the same thing that has always held it back: how steady the person holding it can keep it. If you want a gimbal for iPhone shooting that lives up to what this camera can actually do, this guide walks through the full setup.
What the iPhone 17 Pro's Camera System Actually Offers Filmmakers
Before getting into the rig itself, it helps to understand exactly what you are working with. These four features are what separate the iPhone 17 Pro from every iPhone that came before it.
ProRes RAW and Apple Log 2
Because ProRes RAW retains all the data out there that your sensor can provide, you have the freedom to color grade your footage in post rather than dealing with footage that has been baked. Although Apple Log 2 improves on this by smoothing out contrast and increasing the dynamic range of the image, it is the TIFF format that allows you to extract detail from the shadows and expand the dynamic range of the image during editing.
These are both requirements that will not tolerate camera movement. Motion blur or micro jitters are captured right along with all the extra data – which are there just to be captured in the first place!
Cinematic Mode 2.0 with manual controls
To date, Cinematic Mode 2.0 is the first iPhone-based app to put the aperture, shutter speed, ISO and focus pulling in your hands and under your control. The last one is more critical when doing narrative.
Keeping one thing in the foreground and one in the background, the so-called "focus pull," is now possible on a phone and was once the province of a real cinema camera and a focus puller. It's only intentional if that frame below it is stable. A shaky rack focus, with shaky shots, is a sign of a poor decision rather than a purposeful choice.
48MP across all lenses
These are now all capturing at 48MP through the primary lens, ultra-wide, and 4x telephoto, instead of the main sensor. The one to pay attention to is the telephoto. The increased sensor size gives it options for creativity that weren't there before and really comes to light when it comes to combining with third-party optics such as those from anamorphic adapters.
External SSD recording
With USB-C 4.0, you can store ProRes RAW directly to a portable SSD, instead of using the internal storage on your mobile device. This is what makes the extended shoots realistic. Coupled with gimbal stabilization, hours of usable ProRes RAW footage can be captured in a single take, without the need to constantly deal with storage and without the fear of a shaky handheld take destroying an otherwise great set-up.
Why Your iPhone 17 Pro Needs a Gimbal (Not Just Action Mode)
The built-in camera shake-correcting feature from Apple is called Action Mode, which is sufficient for casual clips. It has real trade-offs, though. It does not really crop the sensor much, but before you shoot a single frame, you lose the resolution and field of view due to the crop. It's also reactive in nature: it tries to undo the shake after it occurs, which can be seen as warping when the action is too violent.
A 3-axis gimbal stabilizer eliminates the problem in a different way. It prevents shake prior to the sensor in a mechanical and/or physical way. As in the case of shooting ProRes RAW or Apple Log footage that requires preserving every pixel the camera captures, there is no crop and no resolution lost.
Apart from that, Action Mode can't fully match a smartphone's ability to use AI and algorithms for subject tracking when the subject is moving, since one doesn't require hand-held control.
For a deeper technical breakdown of how mechanical stabilization compares to a phone's built-in OIS and EIS systems, we cover the full comparison in Gimbal vs OIS vs EIS: What Actually Stabilizes Your Video Better.
The Complete iPhone 17 Pro Filmmaking Rig with the Hohem iSteady M7
Why the M7 is the right gimbal for iPhone 17 Pro
The Hohem iSteady M7 was built with exactly this kind of setup in mind. Its 500g payload handles an iPhone 17 Pro Max with a case, external lenses, ND filters, and a clip-on mic all mounted at once, which most compact gimbals cannot manage.
- On-device AI tracking works directly with the native iPhone camera app, including every ProRes recording mode, so nothing about your workflow has to change to use it
- A detachable remote with a live video feed gives solo filmmakers real framing control from up to 10 meters away
- A built-in CCT and RGB fill light means you are not carrying a separate portable light for run-and-gun shoots
Step-by-step: building the rig
Here is exactly how to use a gimbal for iPhone filming with the M7, from mounting to first take.
- Step 1: Mount the iPhone 17 Pro in the M7's clamp and balance it before powering the gimbal on.
- Step 2: Attach any external lenses or filters to the phone before you balance. Weight distribution changes once you add hardware, so balancing after attachment keeps the motors from working overtime.
- Step 3: If you are shooting ProRes RAW for an extended session, connect an external SSD over USB-C now, before you start rolling.
- Step 4: Open the native camera app and set the iPhone to ProRes RAW or Apple Log 2, whichever fits the shot you are planning.
- Step 5: Activate the M7's AI tracking and set the motor speed to match your shooting style, slower for deliberate cinematic movement, faster for anything more energetic.
- Step 6: Use the detachable remote to frame, monitor, and trigger recording from your own position instead of standing behind the gimbal.
5 Cinematic Shots to Try with Your iPhone 17 Pro and M7
1. Cinematic Mode 2.0 + "Follow Mode" (Rack focus walk)
Move towards the subject and use manual controls in Cinematic Mode 2.0 to zoom from the background and zoom in to the foreground. The gimbal will cushion the walking-induced vibration, making the focus pull appear as a conscious creative decision, rather than an accident.
2. The telephoto tracking shot
Use the 4x telephoto for a close-up and compressed background, with real cinematic depth. With the M7's AI tracking, your subject will be held steady, and the background separation handles the rest.
4. Recycled white driveways.5. Reclaimed brick walls.
Record in golden hour in Apple Log 2 to capture as much dynamic range as possible. Attach an orbit or slow parallax pan to the gimbal. This will ensure that the shot has energy and will preserve the highlights/s Shadows for grading later.
4. ProRes RAW slow motion
Use ProRes RAW to shoot in slow motion at 60fps and include full colour grading latitude. At higher frame rates, it becomes even more important where the stabilization is concerned, because once you slow it down, any hand shake will be much more noticeable. Each frame is usable with the gimbal.
5. Extension pole overhead with ultra-wide
Get the drone-like look with the built-in pole overhead without shooting from a real drone, with M7's ability to shoot in 48MP ultra-wide. One of the quickest means of providing production value to a shoot with just your phone and gimbal.
Recommended Accessories for the iPhone 17 Pro Filmmaking Kit
- External anamorphic or telephoto lens: expands your focal length options beyond what the built-in system covers
- ND filter: essential for holding cinematic shutter speeds when you are shooting in bright outdoor light
- Wireless lapel microphone: pairs with the iPhone's USB-C port for clean audio without cables running to the gimbal
- Mini tripod: useful for stationary setups where you are relying on AI tracking and the detachable remote
- Portable SSD (USB-C): required for extended ProRes RAW recording sessions once you move past short clips
Turn your iPhone 17 Pro into a cinema rig. Explore the Hohem iSteady M7 and unlock the full filmmaking potential of the most capable iPhone camera ever built.
Dejar un comentario
Todos los comentarios se revisan antes de su publicación.
Este sitio está protegido por hCaptcha y se aplican la Política de privacidad de hCaptcha y los Términos del servicio.