
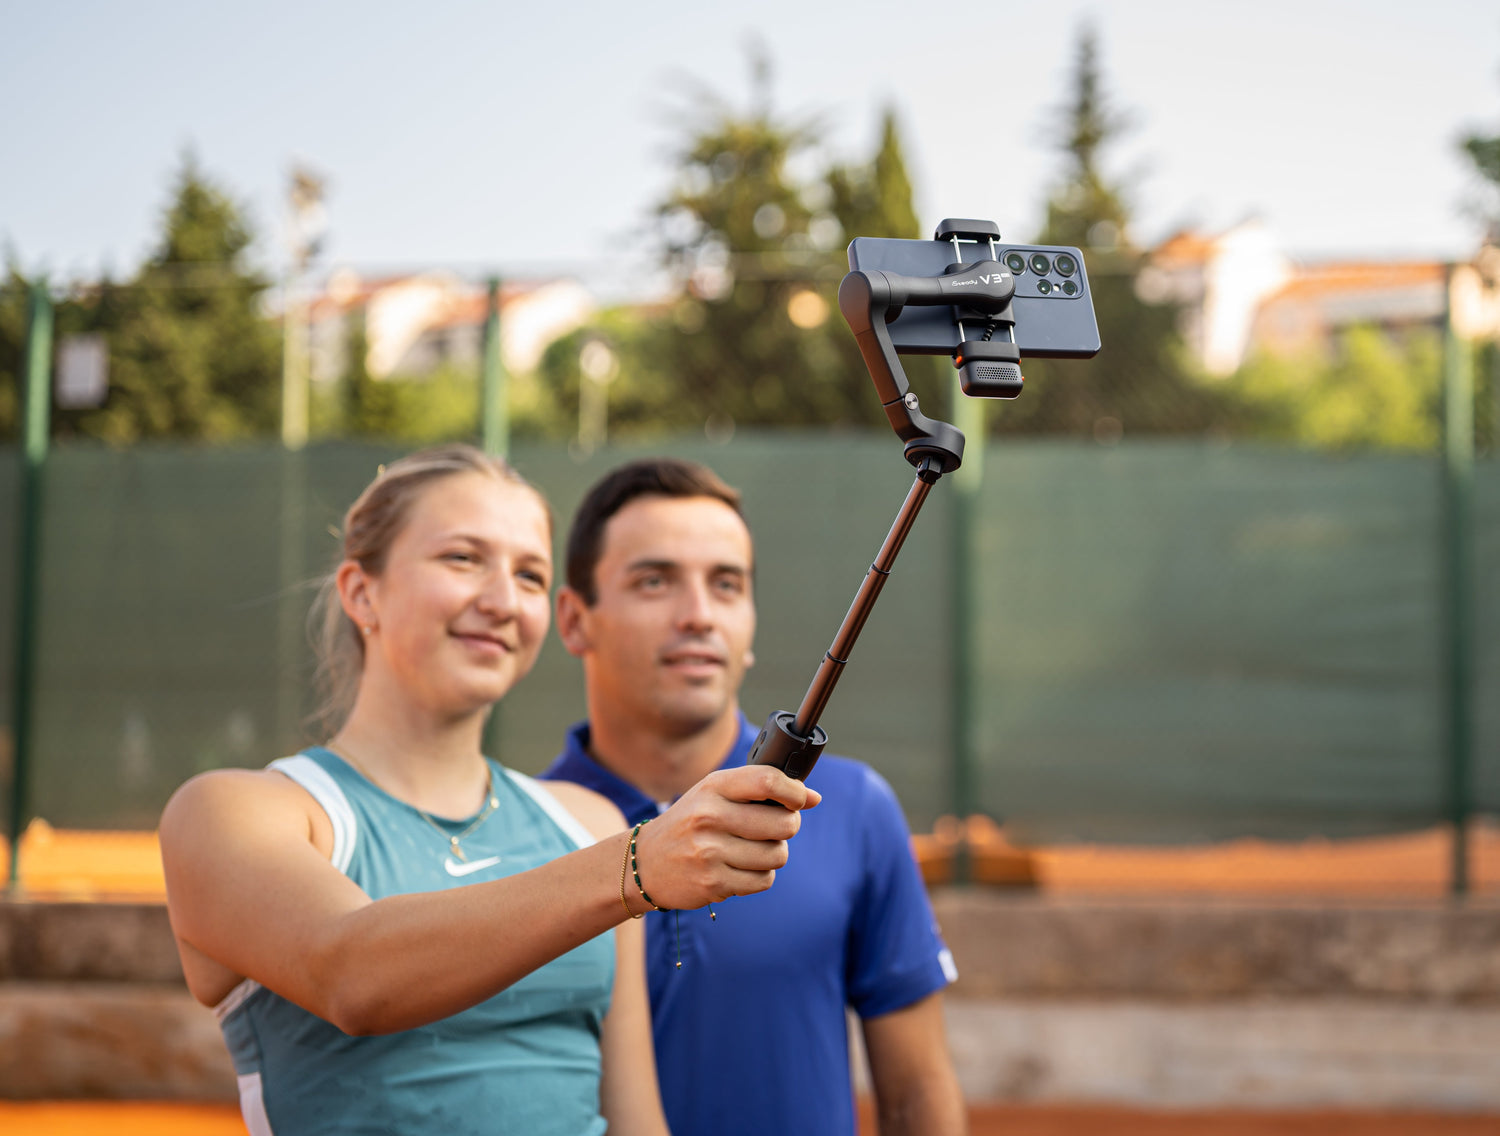
Why Gym and Fitness Content Needs a Gimbal
If you spend any time on GymTok, fitness Reels, or YouTube workout channels, you have probably noticed a clear divide. Some creators post footage that looks crisp, smooth, and intentional. Others post clips that look like they were filmed on a phone balanced against a water bottle. The difference is almost never the camera. It is the stabilization.
Most gym footage is filmed on a smartphone propped against whatever happens to be nearby: a dumbbell, a bench, a shoe on a shelf. The phone slips, the angle is slightly off, the framing drifts, and the creator has to reset between sets. Even when the footage turns out usable, it has the shaky, accidental look that tells viewers this was thrown together rather than produced with care.
A gimbal solves these problems in a way that no amount of post-production can replicate. 3-axis mechanical stabilization physically eliminates shake before it reaches your phone's sensor, producing footage that is smooth through every rep, every set, and every transition. But the real advantage for fitness creators specifically is AI tracking. With on-device AI tracking, the gimbal follows your body through a full exercise set automatically. You do not need a training partner holding the camera. You do not need to walk back to the tripod after every take to adjust the framing. The gimbal holds you in the shot from the first rep to the last.
Fitness content is performance-driven. Viewers are watching your form, your technique, and your results. Smooth, well-framed footage makes exercises look more deliberate and builds the kind of trust that converts viewers into followers. The TikTok and Instagram algorithms also reward production quality with reach. Creators who invest in their footage quality consistently outperform those who do not, even when the actual training content is similar.
The 6 Essential Gym Shots and How to Execute Them
You do not need a film degree to produce gym content that looks professional. These six shots cover every scenario you will encounter in a gym environment, from exercise demonstrations to vlogs to training footage for client review. Each one includes the exact gimbal mode to use and the content format it works best for.
1. The Tracking Set Shot
This is the foundational gym shot. The camera is positioned at a fixed lateral point (usually on a tripod at bench height or slightly above) and tracks you through an entire exercise set from the side. As you move through the range of motion, the gimbal's AI tracking keeps you centered in the frame without any manual adjustment.
Gimbal mode: Pan-follow with AI tracking locked on your body. The tilt axis stays fixed at the height you set, while the pan axis follows your lateral movement. This is particularly important for exercises where you shift horizontally during the set, such as walking lunges or farmer carries. For stationary lifts like squats and deadlifts, the tracking holds your body centered through the vertical range of motion.
Use case: Squats, deadlifts, bench press, rows, overhead press, and any barbell or dumbbell movement where form visibility matters. This is the shot personal trainers use for client form reviews and the one fitness influencers use for exercise demonstration content. It works in both landscape (YouTube) and portrait (TikTok, Reels) orientations.
2. The Low Angle Hero Shot
Hold the gimbal at knee height or lower and angle it slightly upward toward the lifter. Then push forward slowly while the person performs the exercise. The low perspective creates a dramatic sense of scale that makes the lifter look powerful and the weights look imposing. This is the shot that makes people stop scrolling.
Gimbal mode: Follow mode with slow motor speed. The follow mode allows both pan and tilt axes to respond to your forward push, while the slow motor speed keeps the movement controlled and cinematic. If your gimbal has a built-in extension pole (like the M7's 193mm rod), extend it downward to reach lower angles without crouching uncomfortably.
Use case: Deadlift lockouts, overhead press at the top of the lift, cable pulls, and any movement where you want to emphasize the strength and scale of the exercise. This shot also works well for intro sequences in workout vlogs, where you want to set a strong visual tone before the talking starts.
3. The Orbit Around the Lifter
Walk slowly in a circle around the person while they hold a pose, perform an isometric hold, or execute a slow, controlled rep. The subject stays centered in the frame while the background rotates around them. This is the signature shot that separates professional fitness content from a phone leaning against a bench. It adds visual depth and a cinematic quality that static shots simply cannot match.
Gimbal mode: Lock tilt, free pan. You want the camera to stay at a consistent height throughout the orbit while the pan axis tracks your circular movement. Maintain a constant distance from the subject by imagining you are walking along the edge of an invisible circle. Move slowly and steadily. A full orbit should take at least 8 to 10 seconds.
Use case: Physique updates, transformation content, exercise demonstrations where you want to show the movement from multiple angles in one continuous shot, and any pose or hold where the lifter can remain stationary for the duration of the orbit. This shot is also effective for gym walkthrough and equipment showcase content.
4. The Walk-In Reveal
Start the shot outside the gym entrance or behind a wall, rack, or piece of equipment. Push forward smoothly and reveal the training space as you walk through the doorway or around the obstacle. The viewer experiences a moment of discovery as the gym floor opens up in front of them.
Gimbal mode: Follow mode at a moderate motor speed. The gimbal responds to your forward movement naturally, and the reveal happens as you move through the physical space. Walk at roughly half your normal speed. The slower the approach, the more anticipation the shot builds before the reveal.
If you want to learn more about executing reveal shots and similar cinematic movements, our guide to 10 cinematic B-roll shots covers the technique in detail.
Use case: Opening shot for gym vlogs, day-in-the-life fitness content, gym tour videos, and any video where you want to establish the training environment before jumping into the workout itself.
5. The Top-Down Exercise Demo
Position the gimbal directly overhead and look straight down at the exercise below. This bird's-eye perspective is ideal for floor-based movements where the viewer needs to see full body positioning from above: the alignment of the spine during a plank, the symmetry of a push-up, the range of motion in a hip stretch, or the flow of a yoga sequence.
Gimbal mode: Lock all axes so the camera points straight down without any motor correction. Use the gimbal's extension pole for additional height. The M7's built-in 193mm pole is particularly useful here because it gives you overhead reach without needing a separate accessory or an awkward arm extension. Hold the gimbal above the exercise and move it slowly across the body to create a gentle scanning motion.
Use case: Tutorial content showing push-up form, plank technique, stretching routines, yoga flows, ab exercises, and any floor-based movement where the lateral or eye-level perspective does not adequately show body positioning. This shot format also performs well on TikTok and Reels because the vertical frame naturally accommodates the full-body overhead view.
6. The Detail Close-Up
The detail close-up is a slow, deliberate push-in toward a specific point of contact or engagement during an exercise: hands gripping a barbell, feet positioned on a platform, the activation of a specific muscle group, or the moment of lockout at the top of a lift.
This shot communicates precision and expertise. It tells the viewer that you understand the mechanics of the movement well enough to isolate the specific detail that matters. For personal trainers and coaching content, this is the shot that turns a generic exercise demonstration into a genuine form lesson.
Gimbal mode: Follow mode with slow motor speed. Walk forward at a deliberately measured pace. Count to three with each step. The slower the push-in, the more intentional and educational the final footage feels. Fast push-ins look careless and undermine the precision you are trying to communicate.
Use case: Form breakdown content, coaching tutorials, B-roll cutaways for longer training videos, and any content where you want to highlight a specific technical point about an exercise. These clips also work well as standalone short-form content: a 5-second close-up of a perfect deadlift grip, paired with a text overlay explaining the cue, is exactly the kind of micro-content that performs on Reels and TikTok.
How to Set Up a Solo Gym Filming Rig
Mounting Options That Work in a Gym
Gyms are not studios. You do not have dedicated tripod spots, controlled lighting, or the luxury of setting up for 15 minutes before each shot. Your mounting solution needs to be fast, stable, and respectful of the shared space around you.
Mini tripod on a flat bench or shelf. This is the most versatile gym mounting option. A compact tripod sits on the end of a flat bench and gives you a stable, adjustable-height platform at roughly waist to chest level. It works for tracking set shots, detail close-ups, and stationary talking-head content between sets. Setup and teardown takes seconds.
Floor-level tripod for low-angle shots. Place a mini tripod directly on the gym floor for low-angle hero shots and dramatic push-ins. Make sure the tripod is positioned where it will not be in anyone's walking path. The area behind the squat rack or along the wall behind a deadlift platform usually offers the most space.
Clamp mount on a cable machine or rack. For fixed-angle POV shots, a clamp mount attaches the gimbal to a vertical post on a cable machine, power rack, or pull-up bar frame. This gives you an elevated perspective without using floor space. Clamp mounts are particularly useful in crowded gyms where floor tripods create obstacles.
One non-negotiable rule: never obstruct gym equipment, walkways, or other members' space with your setup. Gym etiquette applies. If someone needs the bench or the rack your tripod is sitting on, move it immediately. Being a considerate gym member protects your ability to keep filming there.
Using AI Tracking for Hands-Free Recording
AI tracking is the feature that makes solo gym filming genuinely practical. Without it, you are limited to static, fixed-frame shots that require you to stay within a narrow zone. With on-device AI tracking, the gimbal follows your body through the full range of motion automatically, adjusting pan and tilt in real time to keep you centered in the frame.
The setup process is straightforward. Mount the gimbal on your tripod, activate AI tracking before you start your set, and step into frame. The gimbal's vision sensor detects your face or body and locks on. As you move through squats, lunges, presses, or any other exercise, the gimbal follows you without intervention.
Gesture control adds another layer of convenience. With Hohem's gesture recognition, you can start and stop recording between sets by raising a hand toward the gimbal. You do not need to walk back to the camera after every take, which saves time and keeps your rest intervals consistent. For a deeper walkthrough of the full hands-free solo filming setup process, we covered the step-by-step workflow in a separate guide.
Dealing with Gym Lighting
Gym lighting is one of the most challenging environments for video. Most commercial gyms use a mix of overhead fluorescent tubes and LED panels that produce harsh, uneven illumination with inconsistent color temperatures. The result is footage with unflattering shadows, greenish or yellowish color casts, and visible flicker on certain frame rates.
Set your white balance manually. If you leave white balance on automatic, your phone will adjust the color temperature differently for every clip based on what is in the frame. This creates a noticeable color shift when you edit clips together. Lock your white balance to a fixed value before you start filming and keep it consistent throughout the session.
Use the gimbal's built-in fill light. The iSteady M7 and V3 Ultra both feature adjustable CCT fill lighting built into the gimbal body. Positioning the fill light close to your face or body provides a consistent key light that counteracts the harsh overhead fixtures. This single addition often makes the biggest difference in gym footage quality, especially during early morning or late evening sessions when gyms reduce their lighting.
Face the strongest light source. Whenever possible, position yourself so the brightest gym light source is in front of you, not behind you. Backlighting from overhead fixtures creates silhouettes and forces your phone's exposure to compensate in ways that reduce image quality. Facing the light keeps your face and body properly exposed.
Filming for Training and Form Analysis
Gym filming is not exclusively about content creation. Personal trainers and coaches increasingly use video as a core tool for form assessment, progress tracking, and remote client support. A gimbal improves the quality and usability of this footage in ways that directly impact coaching outcomes.
When a personal trainer records a client performing a squat, a clean, or a lunge, the footage needs to be stable enough to analyze joint angles, bar path, and body positioning frame by frame. Shaky handheld footage makes this analysis difficult because the camera's movement gets confused with the client's movement. Gimbal-stabilized footage eliminates that variable entirely. The camera stays steady, and every shift in the frame is the client's actual movement.
AI tracking is especially useful for compound movements where the client moves through a large range of motion. During a barbell clean, for example, the client drops into a deep pull, extends rapidly, and catches the bar at shoulder height. A static camera would either miss the bottom of the pull or cut off the catch. AI tracking follows the client through the entire movement arc, keeping them centered from start to finish.
In post-production, smooth gimbal footage lends itself to slow-motion replay that reveals details invisible at full speed. A coach can show a client exactly where their knees track during a squat, where the bar drifts during a deadlift, or where their hips shift during an overhead press. This level of visual feedback is more effective than verbal cues alone.
For online coaching and remote training programs, stabilized footage is also the standard for client check-ins. Sending a shaky, poorly framed clip of a lift does not give a remote coach enough information to provide useful feedback. Gimbal-stabilized footage from a consistent angle gives the coach a clear, reliable view of the movement every time.
Best Hohem Gimbals for Gym and Fitness Content
Hohem iSteady M7: Best for AI Tracking During Solo Training
The iSteady M7 is the top recommendation for fitness creators who train and film alone. Its on-device AI vision sensor tracks your body through every exercise without requiring a companion app. The tracking runs entirely on the gimbal's hardware, which means it works regardless of what camera app, live streaming platform, or recording tool you are using on your phone.
The 500g payload capacity handles the largest flagship phones with cases, clip-on lenses, and mounted microphones without motor strain. The built-in 193mm extension pole gives you overhead reach for top-down exercise demos and low-angle versatility for hero shots, all without carrying a separate accessory. And the adjustable CCT and RGB fill light addresses the gym lighting problem directly, providing consistent illumination that counteracts harsh overhead fixtures.
If you are filming your own workouts regularly and need one device that handles stabilization, tracking, and lighting, the M7 is the most capable option in the lineup for gym use.
Hohem iSteady V3 Ultra: Best for Compact Gym Setups
The iSteady V3 Ultra is the better choice if gym bag space is a priority. Its foldable design is compact enough to fit alongside your shoes, water bottle, and lifting belt without adding meaningful bulk. Despite the smaller footprint, it packs 360-degree RGB and CCT lighting that significantly improves footage quality in dimly lit gym environments.
The detachable magnetic remote controller is a practical advantage in the gym. You can mount the gimbal on a tripod at one end of the platform, walk to your lifting position, and trigger recording from the remote without walking back. Between sets, you can review framing on your phone and adjust the gimbal's position from the remote. For creators who want a grab-and-go gym setup that does not slow down their training, the V3 Ultra delivers.
Budget Picks for Gym Creators
If you are testing gym filming for the first time and want to start with a lower investment, two clearance models offer strong value. The iSteady V3 at $94.99 includes AI tracking and a detachable remote controller at the lowest price point in the lineup. It covers tracking set shots, gesture-controlled recording, and hands-free filming at a fraction of the M7's cost.
The iSteady M6 at $111.30 provides strong motor performance for heavier phones with cases and accessories. It does not include AI tracking or built-in lighting, so you will manage framing manually and rely on gym lighting. But for straightforward tripod-based set shots and B-roll, it delivers reliable 3-axis stabilization at a budget-friendly price.
Gym Filming Etiquette and Common Mistakes
Filming in a shared gym requires awareness of the people around you. Getting great footage matters, but not at the expense of other members' comfort or access to equipment.
Do not block machines or walkways with your tripod. Position your setup in areas that do not interfere with foot traffic or equipment access. The space behind squat racks, along the wall behind platforms, and on the end of unused benches are usually safe options. If someone needs the space, move your gear immediately and without hesitation.
Avoid filming other gym members without consent. Your content should feature you, your training partners, or your clients. Keep your framing tight enough to exclude other members from the background wherever possible. If someone walks through your shot, do not post the clip without checking with them first. This is both an etiquette issue and, in many jurisdictions, a legal one.
Keep setup and teardown fast. If you are spending 10 minutes adjusting your tripod, rebalancing the gimbal, and testing angles between sets, you are occupying space and equipment longer than necessary. Pre-balance the gimbal before you leave for the gym. Know which shots you want before you start. Set up, film, and clear the space quickly.
Beyond etiquette, three technical mistakes consistently undermine gym content:
Filming in sport or vortex mode indoors. Sport mode is designed for fast-moving outdoor subjects: runners, cyclists, skateboarders. In a controlled gym environment, the aggressive motor response creates jerky, over-corrected footage. Use follow mode or pan-follow mode instead. The slower, more measured motor response matches the controlled pace of gym exercises.
Camera positioned too far away. The exercise should fill the frame. If your body occupies less than 60% of the shot, the viewer cannot see the details of your form, your muscle engagement, or your technique. Move the tripod closer, or use the gimbal's extension pole to bridge the distance. Close-up framing looks more professional and communicates more information per frame.
Inconsistent angles across clips. If every clip in your workout video is filmed from a different height, distance, and angle, the final edit looks disjointed. Plan your shot list before the session. Decide which exercises get tracking set shots, which get low-angle hero shots, and which get close-ups. Consistency across clips is what makes a workout video feel produced rather than thrown together.
Film your workouts like a pro. Browse Hohem gimbals built for fitness creators and personal trainers. Find the right stabilizer for your gym setup and start shooting better training content today.
Leave A Comment
All comments are moderated before being published.
This site is protected by hCaptcha and the hCaptcha Privacy Policy and Terms of Service apply.